When I happened across a landscaper who had been trimming a neighbors trees, I asked what he was going to do with the branches. He told me that he was taking them to the dump. I offered to give him a few bucks and went home with trunk full of branches and a heart full of inspiration.
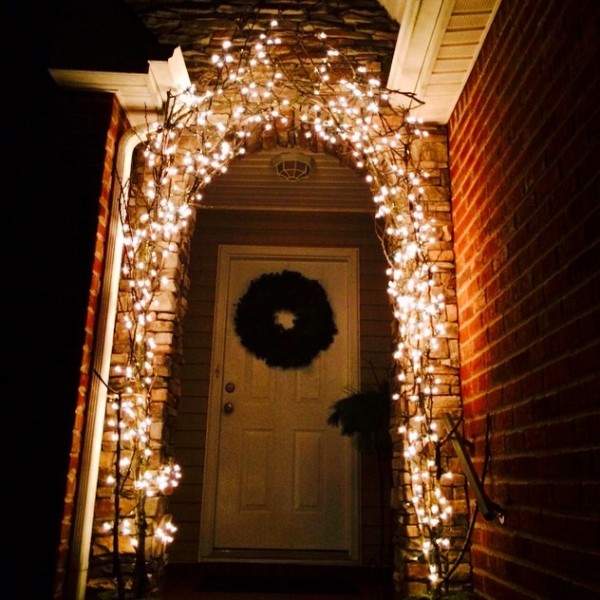
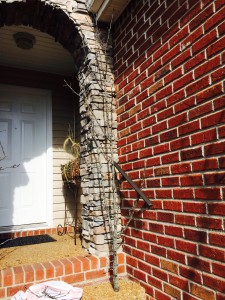
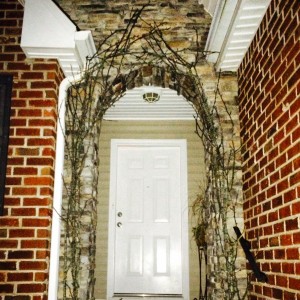
The holidays were fast approaching and when we moved into our rental, it came with an arched opening above the front porch. I wanted to create something traditional in shape, but inspired by nature and yet was lighted for the Christmas season. I began by placing the largest branches on the bottom and then staggering the smaller ones above in a layered effect. Once the framework was established, I secured the branches with dark colored zip ties. At this point, I also placed the bases of the branches in cheap plastic flower pots that I spray painted bronze. I placed rocks in the bottom to provide weight and filled the rest of the pots with insulating foam I picked up from the home improvement store. The foam expands and then dries hard so it helped stabilize the branches. I topped the foam with moss and small rocks for a natural effect.
Then I took smaller branches and began to fill in the holes in my arch, adding zip ties along the way. Once my arch was complete, I began adding twinkle lights from a local retailer. This was the toughest part of the project! I had estimated correctly the amount of string lights needed and the number allowed to be strung together. But for some reason once I got the lights on the tree, even though I had tested each string prior to installation, one of the strings would go out. I had to unravel, unwrap and replace three separate strings before the job was done. Whew! I was really happy with the results and my husband liked it so much we wouldn’t let me take it down after Christmas. 


No Responses to “Tree Branch Holiday Decor”