

I’m not sure where the idea came from, but once I was able to get the landscaping at our rental in better shape I suddenly wanted a table to be able to enjoy meals outdoors. I scoured the internet and came across a set of plans from Ana-White that appeared to be fairly straight-forward and dare I say, easy?? I mean, my father is a carpenter, my grandfather is a carpenter and my great-grandfather was building homes before there were those new fangled things called tape measures. How tough could it be, especially if I was able to ask my father for his help. Also, there was a guy on the site who said he built his in less than 4 hours? We’ve totally got this! Wrong.
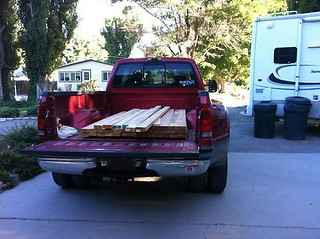
Took the plans to dear ole Dad and told him how I wanted to modify it. I wanted mine to be a little bit wider and the same height so in case I wanted to have a large dinner party I could put my patio table and dining room tables together without much noticeable difference. Also, I wanted a more beefed up shelf under the table which most people use as a footrest. No problem. We did some simple calculations and then went to the lumber yard to try to find good quality wood. I learned a lesson (one of many in this venture) that the straighter your boards, the less work you have to do later due in order to keep it level.
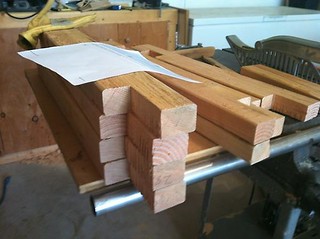
Once we had our fir wood purchased, I began by sanding down everything even before we cut so that in theory it would lessen the amount of sanding time later. Not sure how successful this technique was because there was still a lot of sanding to come.
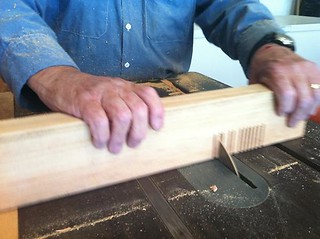
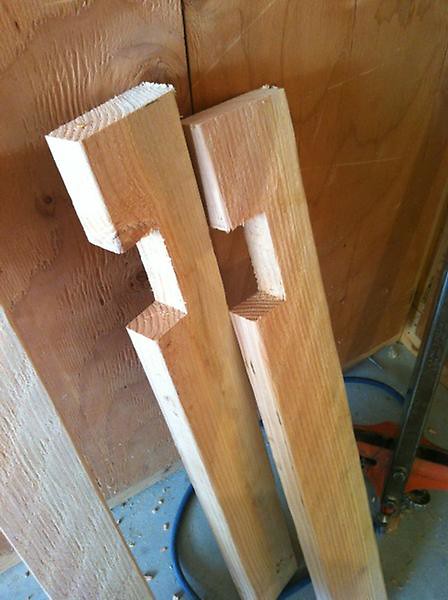
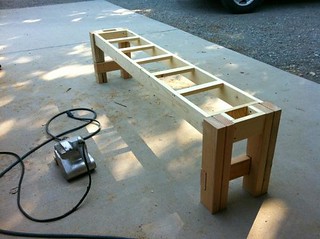
We began by measuring and cutting the legs. Some legs required notching. Dad made tiny little cuts, followed by the chisel and then a rasp to smooth.


Once the legs were cut out, we put together the table top frame, glued and screwed in the legs. (Even Mom got in the action).
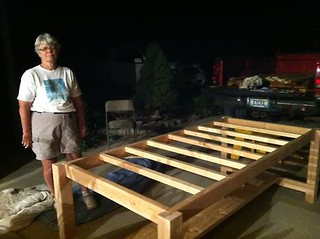
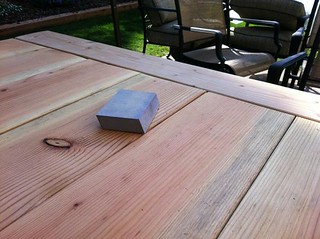
Once the table frame was set in place, we set the table on it’s side and placed the longboards. Each board had to be screwed to the supporting cross board in order to limit as much movement as the wood continues to dry. I will say, there were more than 120 pilot holes and 120 screws that had to be drilled underneath that table! ^^
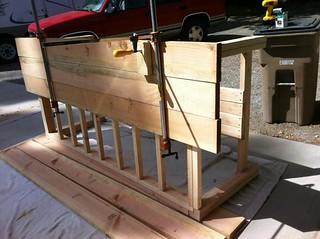
We also used very long clamps (with some cloths to protect the wood) in order to keep the boards together lengthwise as well as another set to keep them tight to the cross boards.
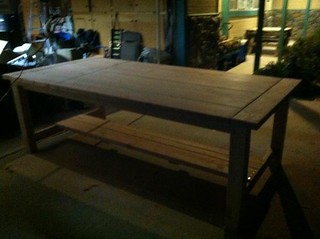
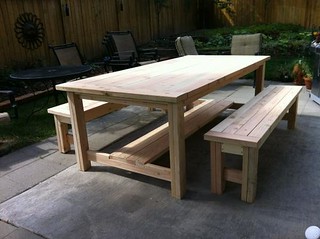
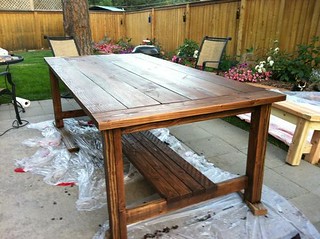
Here is a shot of the table fully assembled. Now to finished the benches.
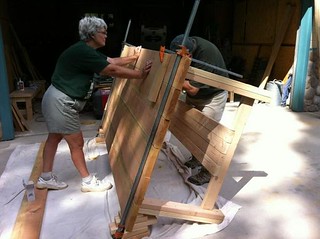
Constructing legs and attaching to the frame. You can also see the big sander used to help cut down in the sanding time.
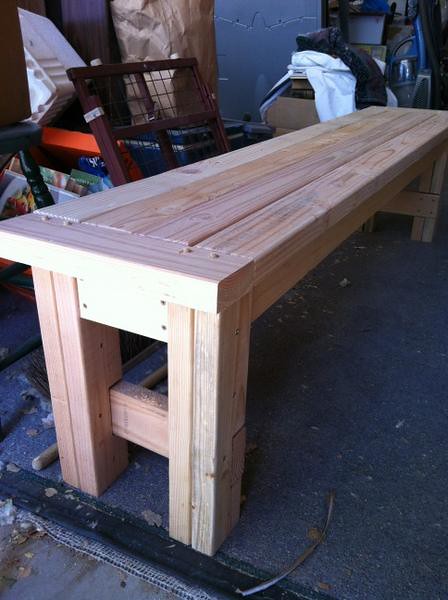
Completed bench below. The dowels you see on the ends was sanded smooth later.
At this point, Dad “retired” his helpfulness and said I was on my own with what I wanted to do from that point forward. The table was much more challenging to move (too bulky, too heavy for too small a space) than I anticipated and I actually had to rent a trailer to transport it back to my house.
Then I began the back-breaking work of staining, sanding and applying a good coat of matte polyurethane. In retrospect, I do not recommend applying the poly out of doors as we have a lot of pollen falling and it was a bit of nightmare to keep the finish smooth.
And then several weeks later, the finished table!
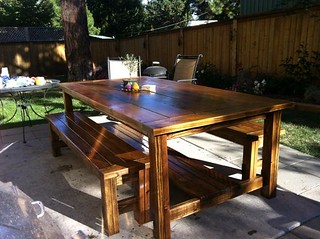
I was thrilled and shortly thereafter, I hosted my bookclub on the patio with a scrumptious polenta party. More on that later. Overall, it cost me around $225 for the table and bench and nearly 40 hours just to assemble. If you attempt this table for yourself, know it is a big job but you will be more than happy with the results.
Hmm, don’t know where this idea came from, my butt! You are a veritable Martha Stewart of the south and of course you would build a gorgeous table like this that is the envy of anyone that behold it.
It’s also the reason I once said to hubby, “But Kimberly made one! It’s easy, honey!!” Which I knew to be untrue because of our convos and somehow he did too.
You and your parents did such a fantastic job, though! It’s absolutely gorgeous and one day we are going to have tea on that table together!
Beautiful!! So cool Kim! Do they live with ya’ll or near you in Nashville? I love your furniture. Turned out amazing!!
Thanks Jen! No, my folks do not live here but we try to see them as often as we can. It was a fun memory with my folks AND I think they have almost forgiven me! 😉 Thanks for leaving a comment.